Step 3: Upload a meeting recording - Minute AI Walkthrough
Upload an audio file and choose a minute template
Great! You've deployed the demo
Now let's walk through what you just deployed and see it in action.
Start WalkthroughChoose your next step
Generate Evidence Pack
Create your business case documentation with what you've learned.
Generate Evidence PackWalkthrough progress
Step 3 of 6 • 3 minutes
Upload a meeting recording
Upload an audio file of a meeting and select a template for the minutes you want to generate.
Expected outcome
- You have uploaded a meeting recording
- You have selected a meeting template
- The transcription job has started processing
Creating a new meeting
-
Click "New meeting"
From the Minute AI homepage, click the "New meeting" button.
-
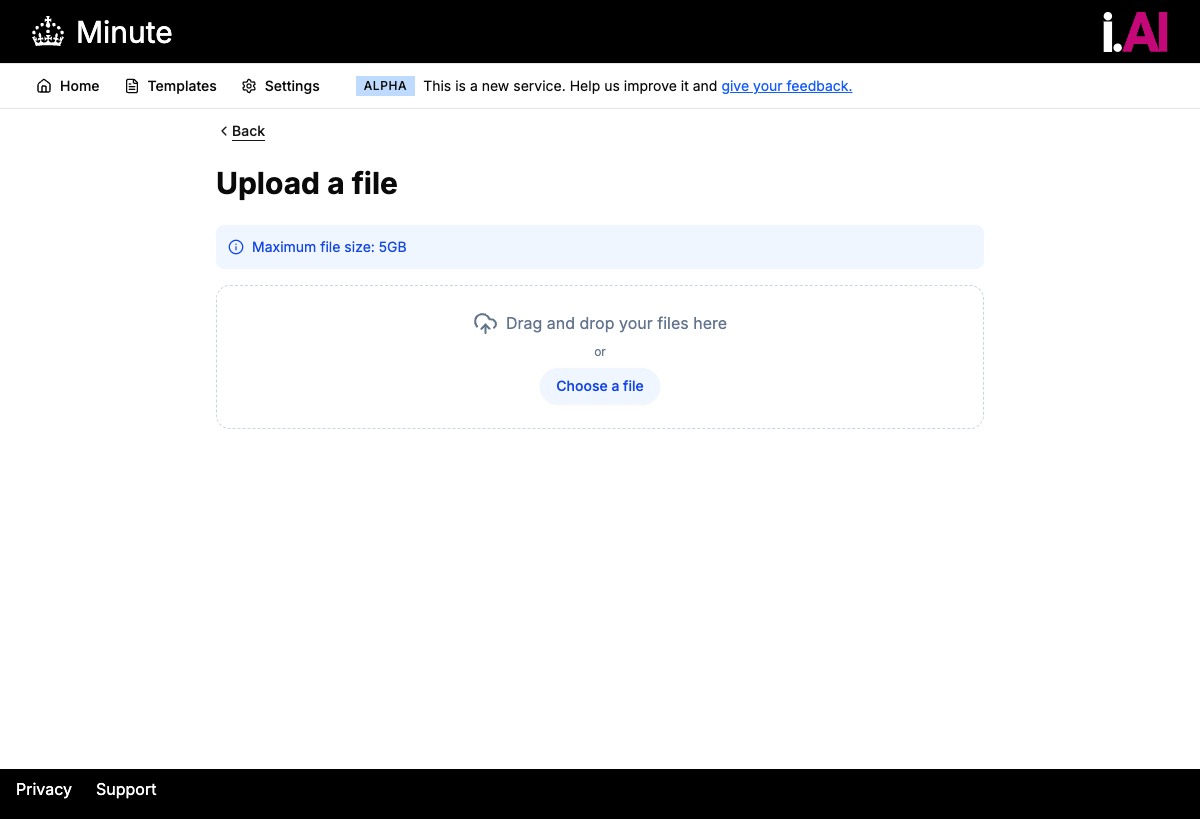
Click "Upload a file"
Select the option to upload a recording file from your computer.
-
Choose your audio file
Select or drag and drop a meeting recording. Supported formats:
- MP3 -- most common recording format
- WAV -- uncompressed audio
- WebM -- common for browser-based recordings
Files can be up to 5GB in size. For this walkthrough, a short recording (5 to 15 minutes) works best.
-
Select a template
Choose a meeting template that matches your recording. Available templates include:
General
Default template suitable for most meetings. Produces an overview, discussion points, decisions, and action items.
Cabinet
Formal cabinet meeting format with motions, votes, and ministerial responsibilities.
Planning Committee
Planning committee format with application references, officer recommendations, and committee decisions.
If you are unsure, select "General" -- it works well for any type of meeting.
-
Click "Upload"
The file will be uploaded to S3 and a transcription job will start automatically. You will see the status change to "Transcription being processed".
What happens next
After uploading, Minute AI sends the audio file to AWS Transcribe (opens in new tab) for speech-to-text conversion. The processing pipeline works like this:
The recording is stored securely in an S3 bucket
Speech is converted to text with automatic speaker identification
A background worker picks up the completed transcript for processing
Timing: Transcription typically takes 5 to 10 minutes for a 30-minute recording. Shorter recordings process faster. You can leave the page and come back -- the transcription continues in the background.
Troubleshooting: Upload fails
If the upload fails:
- Check that your file is in MP3, WAV, or WebM format
- Ensure the file is under 5GB
- Try a shorter recording if a long one is failing
- Check your network connection -- large files may take time to upload